
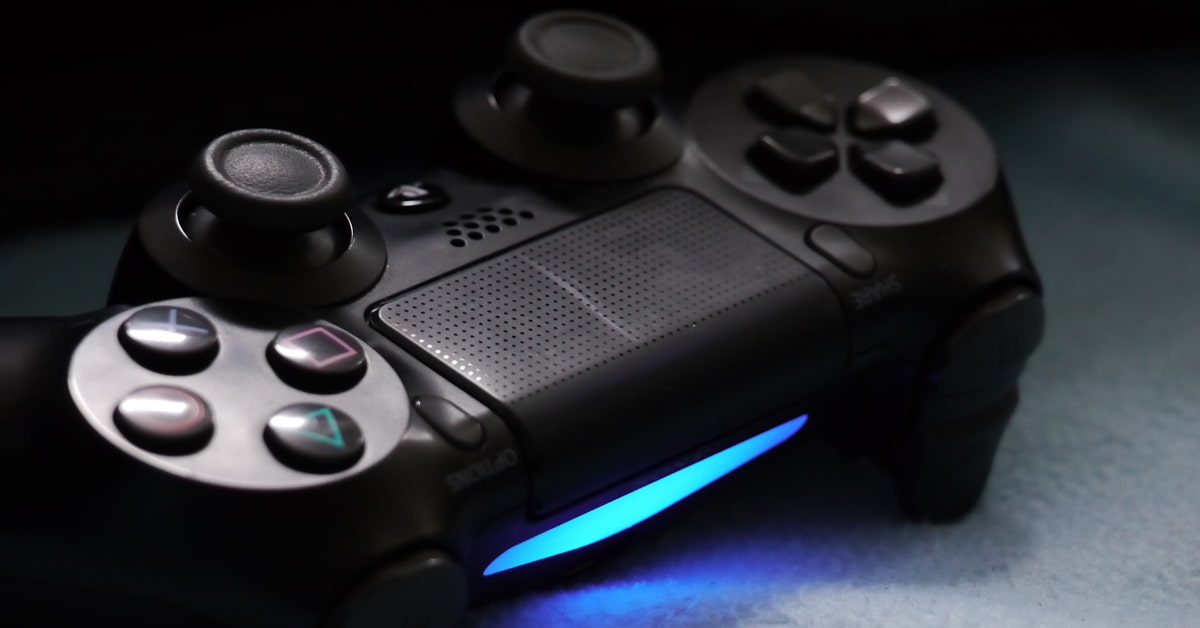
The process of how to take apart a controller PS4 is one that is not as difficult as it may seem. In fact, if you have ever wondered how to do this before, you will want to find out about the process today.
If you are new to the gaming console market, then it might make sense to learn about how you can take apart the controller for yourself before you buy one or pay someone to do it for you.
This article will help to provide a bit more information about how to take apart a PS4 controller and what to look for when trying to determine how to do this.
First, it is important to understand the process of how to take apart a PS4 controller. Once you have all the pieces of the controller together, you need to put them in order. You need to connect each component to the next in the right way.
Once you have done this, you should be able to open the console without any problems whatsoever. If you encounter any difficulties in doing this, then you can contact the manufacturer of the system.
As far as what to look for in a good guide to how to take apart a PS4 controller, there are a few pieces of advice that you can look into.
One is that you want to make sure that the manual included with the game has everything that you need to know about taking apart the game.
This means that you should check to see that the manual includes step by step instructions for getting the game up and running again.
It is also a good idea to check to see if there is an online help system where you can find advice on the proper way to do this process.
Finally, you should make sure that you look for a complete set of instructions so that you don’t have any difficulty getting this done.
How to Battery replacement in PlayStation 4 GamePad
A Battery Replacement in PlayStation 4 is something that has to be done with regularity. The reason for this is because you have a gamepad that is plugged into a power source in your system itself.
It is the way that all your games are played and it will be through these games that you are getting used to this.
However, over time it can become clogged up and begin to drain the battery. So, if this happens then you will need to be able to repair the problem.
The first thing that you should do when you have a battery replacement in PlayStation 4 is to look for the signs that you need to get it fixed. The best signs to look for are a gradual loss in battery life over a period of time.
If you notice this happening more often than normal then you will know that you need to get it fixed as soon as possible.
Also, you will need to check the manual to make sure that you do not have any sort of internal short that will be causing the loss of life.
You might be able to find a manual in the manual section of your PlayStation. There are also plenty of websites online that will be able to help you if you need them to.
If you are not sure what you need to do then you should call the company who designed the unit for you. They will know what you need and they will be able to give you advice on what you can do.
They should also be able to tell you what you need to do if you are using it in a particular area of the house and what is best to be done.
For example, you will need to ensure that the area is well ventilated and that you do not allow anything to get in there. You will also need to ensure that you do not plug in items such as your PlayStation until the problems are sorted out.
If you take care of the problems that are there, they will not be there when you need them. Then you will be able to get regular use out of your PlayStation.
How to Replace sticks on PS4 gamepad
If you’re like most people, you’ve got a few sticks in your PS4 gamepad that just aren’t doing the job anymore. After a few weeks or months of use, the old sticks start to go bad and they just don’t work as well as they used to.
It’s a pretty easy fix and the best part is that you can do it easily and cheaply at home without even going out to buy any new sticks.
The first thing that you need to do if your PS4 sticks are wearing down is to make sure that you are using your PlayStation button pads correctly.
If you are pressing down on a button while you are holding a stick, you’re just causing your stick to wear out and eventually break. So make sure that you are pressing all the buttons on the PS4 gamepad correctly and you’ll never have to worry about it again.
Then, you’ll want to get a couple of small screws that fit into a slot on the back of your PS4 gamepad. You will need to remove the screws so that you can slip them out.
Once you’ve got the screws out, take the two long pieces of the sticks and stick them into the slot on the back of your PS4 gamepad.
Make sure that they are tightly wedged into the slots. Once you’ve done this, take them out from underneath, but make sure that you hold the sticks up so that you can clearly see them.
Take note of how the sticks feel when you’re holding them in your hands. If the sticks feel heavy or are breaking, it’s probably time for a new stick.


